Liquid Latex Instructions
Colored Liquid Latex For Fantasy and Artistic Designs

1 oz colored latexLiquid Latex is probably the most versatile of all theatrical makeup.
Note: If applying latex to skin with hair, we really recommend use of an Aloe Vera based gel first!
-

Figure 1: Blue Latex is applied carefully, avoiding hair and eyes, then allowed to dry. Eyebrows are covered with Black Foundation and eye shadow in Deep Misty Blue.
-

Figure 2: Blue Powdered Glitter is sprinkled and pressed into the dry latex; excess is brushed away.
Clear Liquid Latex Special FX and GoreNote: The 5 pictures used in this example are excerpted from one of the two 12-step instruction sheets included with the Severe Trauma Deluxe Kit that kit is crammed with way more makeup than its price of $20.00 will buy you anywhere else!!
Caution: Latex allergies affect a small, but significant percentage of people. Those with such allergies should refrain from use of Liquid Latex on their skin.
Practice First: For creating prefabricated latex pieces on your own, all you need is some latex and a bit of play time. Try rolling the edges of a dry latex patch toward the center to create scar ridges. Once the ridges look as you wish, seal down the entire piece with another coat of the liquid latex especially over the rolled edges so they won’t peel up. Then add blood, makeup etc. -

Figure A: Apply roundish areas of Latex with sponge or brush and allow to dry until crystal clear.
Tip: A hair dryer will speed up the drying time quite a bit. -

Figure B: Pinch center and pull out to form blister. Break blister and roll edges outward if desired. Otherwise, you could inject Blood Gel into unbroken blister for an oozing blood blister effect.
-

Figure C: Apply two coats of latex to cheek. Lay on facial tissue and tear off excess flange. Apply 2-3 additional coats using sponge.
Tip: When applying several coats of latex, always allow the first to dry before you add the next. -

Figure D: Pinch and pull as in Figure B, but this time, cut and powder the wounded flesh as you go.
Tip: If you don’t powder the latex, it will stick to itself and you won’t get such long strips of flesh if they’ve doubled over. -

Figure E: Add make-up, blood, tooth wax, etc., and you’re ready for the infirmary.
-

Try the Hanging Eyeball: Using flesh-colored latex, red latex and white latex along with a novelty eyeball, pour each onto a mirror or glass sheet as shown in the picture. Make the flesh patch large enough to cover your eye region. Allow to dry overnight. Powder both sides while peeling off the glass and you’ve just made a prosthetic piece you can be proud of.
Share this article


Shop for everything you need to recreate this look
shop nowYou may also be interested in...
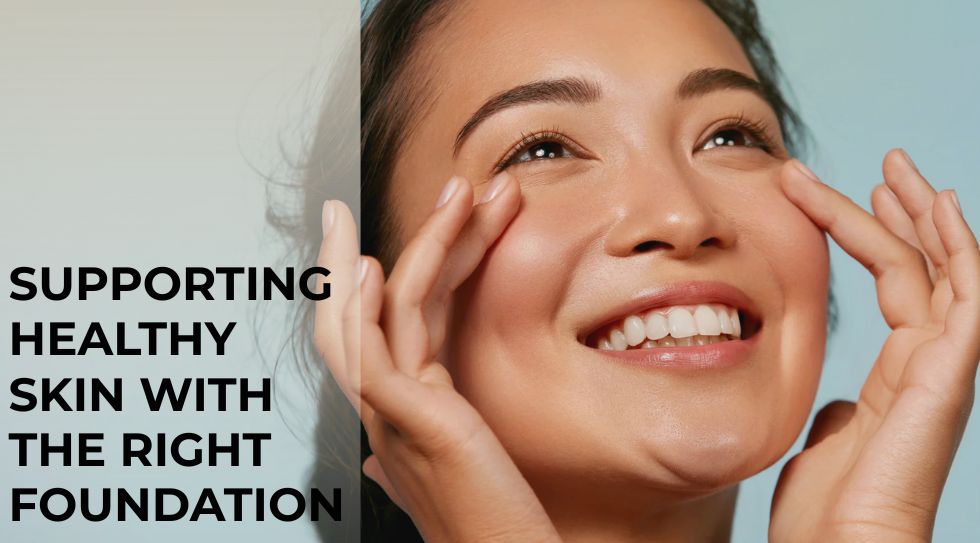

Achieve the Perfect Radiant Beauty Look
Want that flawless, lit-from-within glow everyone’s chasing? With Graftobian HD(...)