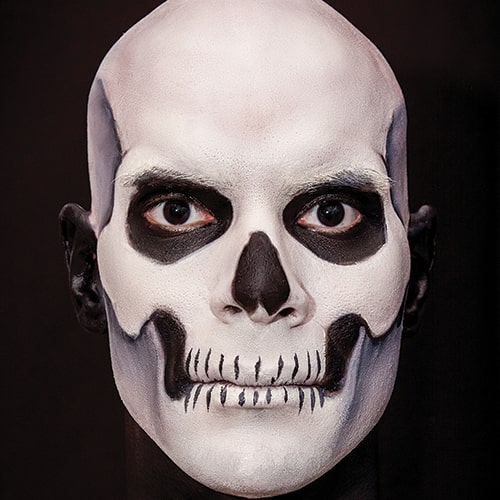
Skull Makeup Tutorial
Before You Start:
Your make-up should be applied in a clean, well lit area. Give yourself plenty of room, and arrange your materials neatly in front of you. If you are doing the make-up on yourself, make sure you have an amply sized, well lit mirror. Wear old clothes— making up can get messy! Make-up should always be applied to clean skin, so wash your hands and face and you are ready to begin.
Applying the Makeup:
Note: If you are putting make-up on someone else, always approach the eye area gently and with warning. Never just jab away with your sponge, brush, or other implement. Have your subject close their eyes when coloring the upper lid and below the brows. Have them open their eyes and look up when you are coloring the areas just below the eye, including the lower eyelid.
-

Time Needed: One full character face will require about 30-45 minutes to complete.
-

1. Begin with the Black Eye Lining Pencil and trace around the orbits of the eyes. Trace the temples by starting your line from the ear on top of the zygomatic bone and bend it up when you get about 1/4 inch from the eye socket. Curve the line inward just enough so it trails off over the brow. Add another line just before the end curving back along the temple.
These areas will differ from face to face; follow the bones of your face or that of your subject as you paint these beginning outlines. -

Step 1 (continued). Begin the cheek line below the temple line about a 1/4 inch and draw towards the corner of the mouth until you get under the outside corner of the eye. Continue this line with a hook shape that outlines the maxilla (See diagram for reference).
Repeat on the other side and use the same points of reference. Draw two more hooks extending from the corners of the mouth, ending under the cheek bone. The sinus cavity outline somewhat resembles an upside down heart but the tip has been squared off. Notice the placement by the nostrils. -

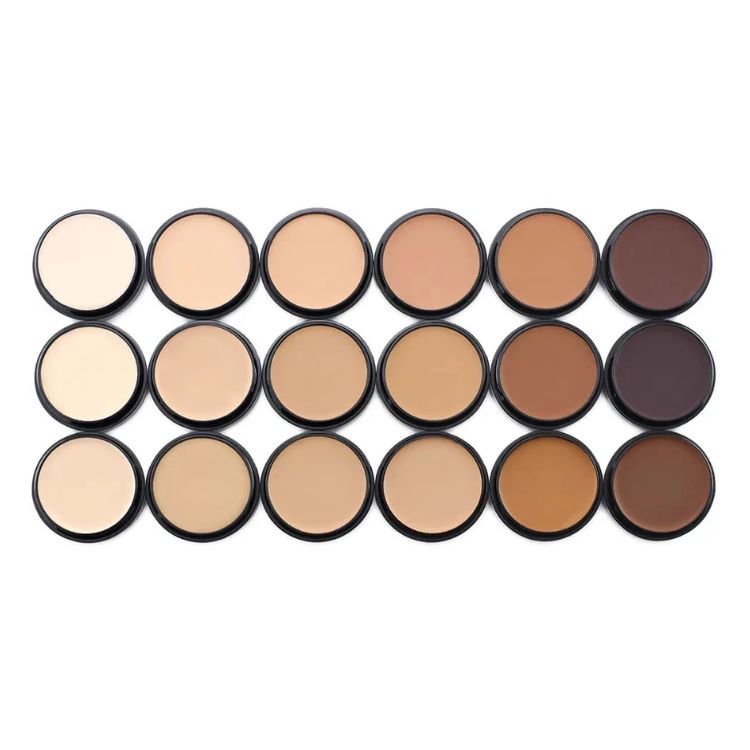
2. Using a Sponge Wedge, wipe across the surface of the Bleached Bone Foundation to load the sponge. Once the sponge is properly loaded, apply the foundation to the areas of the face as shown. Coat the skin evenly but with as thin a coat as possible to get your desired opacity. This is your foundation, your bottom coat, into which you will blend and add your character lines and colors. Note that you are covering all exposed skin, which includes the neck and into the hairline; you want to cover all skin that will be showing once you have finished making-up and the costuming has been added. As shown in the picture, Bleached Bone is applied outside of all of the areas outlined with the black pencil in step 1.
-

3. With a Brush and the sponge wedge, fill in the eyes, ears, nose, neck and the areas between the coronoid processes and the maxilla with the Black Crème Makeup. Be gentle while painting close to the eyelashes and use the black pencil to finish.
-
4. Use the Blythe Spirit color of Creme Makeup to shade the recesses of the temples. Drag and blend a little black as well so the shadows graduate from black to grey to white coming down and away from the temple lines. When shading the mandible, use the same technique but leave a space at the edge of the coronoid process while dragging the shadows down from the bottom edge of the zygomatic bone.
Load the makeup brush with the black foundation to start the lines for the teeth. Start with a thin center line bisecting both upper and lower lip. Continue down each side of the top lip make the space between the lines smaller as you proceed outward. When painting the bottom lip, place lines between the lines on the top lip so they stagger like real teeth. -

5. Finish the teeth by painting chevrons capping off the lines and add White Creme Makeup highlights to the center 6 teeth. Using the brush and black foundation, paint the fissures of the nasal bones and highlight again with white. Finish with small Blythe Spirit shadows around the nasal bone, about and below the teeth and 2 arches on either side of the nose to represent the infraorbital foramens.
-

6. Once the blending is complete, it’s time to powder down the makeup. Load Powder onto Powder Puff by sprinkling a small pile of powder onto the middle of the puff, folding the puff and rubbing the puff’s sides together until the puff is substantially loaded. Powder the crème-based makeup with a gentle but rapid patting motion working deliberately across the face, one section at a time. Reload the puff frequently to avoid excessive “offsetting” of the makeup onto the puff. When the face is fully “set” you will be able to touch the makeup without it coming off.
Optional use of Stage Blood or Blood Gel (not included in this kit) oozing from the eye sockets creates an enhanced effect. Addition of the costume is all that now remains! -
Costume & Accessory Tips: Classic costuming for the Skull would include a hooded robe, bony hand gloves, unless you choose to use makeup on the hands and lower arms, a Grim Reaper Scythe or Sickle and perhaps a voice modification unit. Any and all of this is available at your local costume retailer. If you wish to duplicate the bald skull look, either shave your head, or, apply a Graftobian Bald Cap #99700 or #99705.
Removal: Our makeup can be easily removed with makeup remover or cold cream (not included in kit). Once all makeup is carefully removed, gently wash with soap and water.
Share this article


Shop for everything you need to recreate this look
shop nowYou may also be interested in...


Achieve the Perfect Radiant Beauty Look
Want that flawless, lit-from-within glow everyone’s chasing? With Graftobian HD(...)